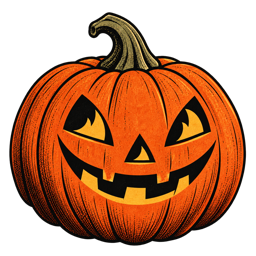
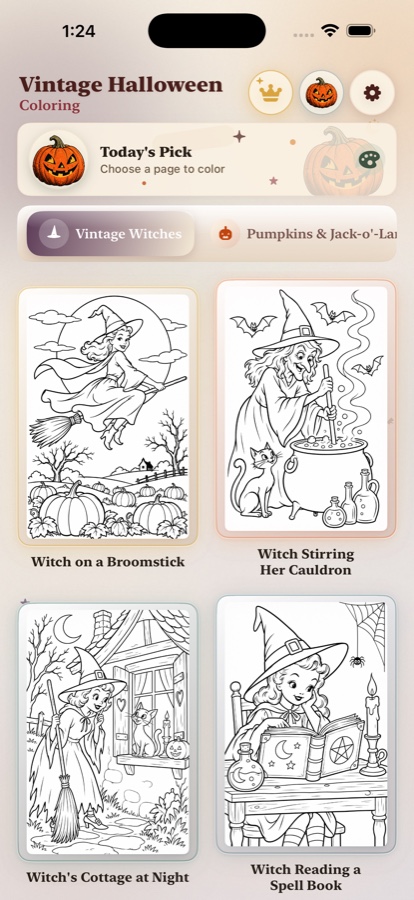
A Halloween collaborative coloring poster turns a stack of individual pages into one large piece of seasonal art. Each participant colors a section, the sections are arranged in order, and the group watches a pumpkin patch, haunted village, witch’s sky, or friendly monster scene appear across a wall. The project is simple to explain, easy to scale, and meaningful because nobody has to create the whole picture alone.
This format works especially well for classrooms, libraries, community rooms, homeschool groups, camps, and family gatherings. It creates a reason to slow down and look at other people’s choices. It also gives a quiet activity a visible ending: the finished artwork becomes a bulletin board, hallway display, reading-corner backdrop, or party decoration.
What is a collaborative Halloween coloring poster?
A collaborative poster is a large image divided into printable sections. Each page may have a number, a small registration mark, or a piece of the surrounding artwork. When the pages are colored and assembled, the lines and shapes connect into a single mural. Some projects are carefully numbered; others use a simple grid that an adult arranges after the coloring is complete.
The image can be detailed or very simple. A large “Happy Halloween” banner, pumpkin field, spooky street, moonlit landscape, or friendly character parade can all work. The important part is that each page feels complete enough to color while still contributing to a larger visual story.
- Individual contribution: one page gives each person a clear role.
- Shared result: the finished sections form a larger image.
- Flexible pacing: people can work at different speeds without stopping the whole project.
- Visible celebration: the final mural decorates the space and credits the group.
- Creative variation: the picture can be coordinated without requiring identical coloring.
Why a group mural works better than one giant blank sheet
A blank wall or huge piece of paper can feel intimidating. A numbered section gives the participant a manageable starting point. A child can focus on one pumpkin, one window, or one corner of the sky while knowing that their page has a place in the final picture.
Individual pages also make the project easier to distribute. A teacher can send one section to an early finisher. A librarian can place pages on a craft table across several days. A family can color a few pieces at a time. When the sections are finally assembled, the time spent becomes visible without requiring a single long craft session.
For a regular classroom activity, our guide to Halloween coloring pages for the classroom covers centers, quiet breaks, early finishers, and seasonal displays. The mural is a natural extension when the goal is a shared result.
Plan the mural before you print
Start with the space where the finished display will live. Measure the wall or bulletin board, decide whether the pages will be arranged in a rectangle, and estimate how many sheets fit across and down. Leave room for a title, artist names, or a small description of the project.
Choose a design with clear boundaries between sections. A very detailed image can look beautiful, but tiny lines may disappear when pages are printed or assembled. Bold outlines and larger shapes are easier for mixed-age groups. For younger children, choose friendly pumpkins, cats, ghosts, leaves, and stars; for older groups, add a witch’s cottage, moonlit town, or vintage poster lettering.
- Pick the display: wall, door, bulletin board, library window, or hallway.
- Choose the grid: decide how many pages wide and tall the mural should be.
- Check the template: make sure pages have numbers or clear assembly guides.
- Print a test: confirm margins, line quality, paper size, and section order.
- Prepare a folder: keep the master order and extra pages together.
Five ways to run a collaborative coloring project
1. A classroom bulletin board
Give each student one section and allow them to color independently. When the pages are collected, invite a small group to arrange the pieces on the floor. Assemble the mural on backing paper, then add a heading such as “Our October Night” or “Many Hands, One Halloween.” For writing practice, ask students to add one sentence describing the completed scene.
2. A library or reading-corner mural
Put several sections on a table each week. Visitors can color one page while they browse or attend a program. Keep a simple progress chart so people can see how much of the picture is complete. Once the mural is finished, place it near the seasonal books and invite visitors to find their favorite detail.
3. A family weekend project
Print a smaller grid and give each family member a section. Let each person choose a palette, then assemble the pages at the end of the afternoon. The mural can become a temporary dining-room decoration or be photographed before the pages are stored with other seasonal keepsakes.
4. A Halloween party activity
Set up a calm coloring station away from the loudest games. Guests can color one piece, add their initials to the back, and leave it in a collection tray. An adult or older child can assemble the mural later. This lets the party decoration grow naturally during the event. Our guide to Halloween party coloring pages includes additional table-station ideas.
5. A community or office display
A collaborative poster does not need to be limited to children. Use a vintage pumpkin scene, a black-cat night, or a “Happy Halloween” letter mural in a community center, studio, or office. Offer markers and colored pencils, add a small palette suggestion, and let people contribute when they have a few minutes.
Coordinate colors without removing creativity
A mural can look connected even when every page is colored differently. Offer a small palette card with two or three anchor colors, such as pumpkin orange, deep plum, and warm cream. Participants can use those colors wherever they like while adding their own choices. Our guide to Halloween coloring book color palettes has ideas for pumpkin, midnight, and vintage tones.
Another approach is to assign a mood rather than exact colors. Ask one group to color the sky, another to focus on pumpkins and leaves, and another to add details in a limited accent color. This creates visual rhythm without turning the project into a coloring test.
Make it clear that variation is welcome. One child’s purple moon and another child’s orange cat can sit happily in the same scene. The mural represents many people, so a little difference is part of its meaning.
Support different ages and abilities
Prepare a mixture of simpler and more detailed sections. A younger child can receive a page with large pumpkins or stars. An older student can take a page with lettering, architecture, or a detailed background. If the page is too demanding, provide a pre-outlined version, thicker tools, or a partner role such as choosing colors or checking the section number.
Not everyone needs to color a complete page. One participant might add a border, write the title, choose the palette, or help arrange the finished pieces. A group mural is strongest when contribution is broader than one particular motor skill. For optional, low-pressure creative choices, see our guide to Halloween calm corner coloring pages.
Friendly, non-scary artwork can make the project more welcoming in mixed groups. Pumpkins, cats, autumn leaves, stars, and smiling ghosts are easy to adapt. If learners want a darker mood, they can create it through color rather than being required to use frightening imagery.
Add language, math, and storytelling
The finished mural can become a prompt for several subjects. Learners can label objects, practice Halloween vocabulary, count repeated pumpkins, describe positions, or write a short story about the scene. Our article on Halloween vocabulary coloring pages for ESL gives sentence frames that can work beside a group poster.
Ask questions such as “What is above the cottage?” “How many bats cross the sky?” or “Which page contains the largest pumpkin?” Older children can write captions for three sections or create a beginning, middle, and end based on the completed image. The mural becomes a shared text as well as a shared artwork.
If the project uses numbered pages, sequencing provides another quiet learning opportunity. Ask students to identify what comes before and after their section or arrange a mixed stack in the correct order.
Assemble and display the final poster
Lay the pages out on a large table or clean floor before attaching them. Check the numbers, line connections, and orientation. Use removable tape for the first arrangement so you can correct a misplaced page. Once the image is right, mount the sheets on bulletin board paper, poster board, or a wall-safe backing.
Add a title and a small note explaining that the poster was colored collaboratively. If appropriate, list first names or the group name rather than covering the art with individual labels. Photograph the completed mural before taking it down. The image can become a class newsletter feature, family memory, or next year’s inspiration.
For a smaller display, print the mural at reduced size or assemble only a few connected sections. For a larger hallway, repeat a border motif around the outside. The same artwork can scale to the available space when the grid is planned first.
One page at a time, one picture together
A collaborative Halloween poster gives a seasonal activity a generous sense of time. Someone colors a moon on Monday. Someone else fills a pumpkin on Tuesday. By the end of the week, the group has made a place that did not exist before. Every section is manageable, but the finished image feels bigger than any one contribution.
Print the pages, number the pieces, offer a few palette suggestions, and leave room for different hands. The best mural is not the one with perfectly matching colors. It is the one where everyone can point to a part and say, “I helped make that.”
Frequently asked questions
What is a Halloween collaborative coloring poster?
It is a large Halloween mural made from several printable coloring pages. Each participant colors one section, and the pages are assembled into one shared display.
How do I make a giant Halloween coloring mural?
Print the numbered sections, give each page to a participant, collect the finished sheets, arrange them in order, and attach them to bulletin board paper or a large backing sheet.
What can students learn from a collaborative coloring project?
A group mural can support color choices, visual planning, fine-motor practice, communication, sequencing, creative writing, and shared responsibility.
Can a collaborative Halloween poster work outside a classroom?
Yes. Libraries, community centers, homeschool groups, family parties, camps, and office events can each color a section and assemble the final display.