Alcohol markers are appealing for Halloween coloring because they can fill a pumpkin, cloak, or moonlit sky with rich color and smooth transitions. Their main trade-off is paper: the ink is designed to move and can pass through thin sheets. A little planning makes the process easier. Test the page, protect the surface, choose a limited palette, and work in manageable sections before committing to the full illustration.
There is a timely reason to explore this technique: a 2026 review of adult coloring trends describes renewed interest in cozy coloring alongside marker-based experiments such as gradients and limited palettes. That is an artist’s trend roundup, not a keyword-volume report; the practical questions remain the same for Halloween art—how to keep the autumn mood, control the blend, and avoid damaging the page. See Sarah Renae Clark’s 2026 adult coloring trend review.
This guide focuses on using the markers you already own. If you are still comparing marker types, nibs, and supplies, start with our separate guide to choosing markers for Halloween coloring pages. Here, the goal is a clear workflow for coloring a page with alcohol-based ink.
First, understand the paper trade-off
Alcohol ink naturally moves into paper fibers. Manufacturer advice for reducing bleed-through recommends marker-friendly or bleed-resistant paper, a protective blotter sheet, and light layers; see Crayola’s marker bleed-through guidance. These steps reduce mess, but they do not make thin paper impermeable.
For a printable page, a heavier sheet may work better than ordinary copy paper, if your printer supports it. For a bound coloring book, check whether the illustrations are printed on one side and whether the publisher recommends markers. If the reverse side matters, colored pencils or water-based markers may be a better fit. Our printable Halloween PDF guide covers page size and printer setup.
One distinction saves confusion: a backing sheet catches ink that passes through and protects the desk or following page, but the coloring sheet itself may still show ink on the reverse. If you need both sides pristine, alcohol markers are usually the wrong tool for that paper.
Set up a safe test before coloring
- Use the actual page stock. A test on different paper cannot predict the result reliably.
- Place a thick blotter sheet underneath. Use scrap cardstock or a dedicated marker pad, and check that ink has not reached the surface below.
- Test a light and a dark marker. Make one quick stroke, one slow fill, and a second pass over part of each swatch.
- Check both sides. Notice whether the ink feathers beyond the outline, makes the sheet buckle, or marks the page beneath.
- Let the test dry. Some color shifts become clearer after the wet ink settles.
Do the test in a margin or on a duplicate print, not on the focal pumpkin of the page you love most. Alcohol ink can look darker while wet, and a second pass may deepen it further.
Choose a small Halloween palette
More markers do not automatically create a better page. A compact palette makes it easier to keep the scene coherent and reduces the number of blends to test. Pick colors based on the mood you want:
- Harvest evening: pale yellow, golden ochre, light orange, burnt orange, warm brown, and olive green.
- Moonlit vintage: muted cream, dusty orange, brick red, deep plum, blue-gray, and charcoal.
- Playful spooky: bright orange, violet, turquoise, leaf green, and a soft gray for shadows.
For a gradient, choose three neighboring values in one hue family: light, middle, and dark. A pumpkin can move from pale golden yellow at the lit edge to orange through the middle and a small rust shadow near the ribs. A witch’s hat might use a light lavender, a muted violet, and a deep plum. Keep the shadow compact; filling every section with the darkest marker can flatten the drawing.
For more palette combinations, see our guide to pumpkin, midnight, and vintage Halloween colors.
A step-by-step alcohol marker workflow
1. Decide where the light comes from
Before coloring, pick one light source: a full moon, a jack-o’-lantern, a window, or a candle. This simple choice gives shadows a direction. You do not need to calculate realistic lighting; just keep the brightest side and darkest side consistent across nearby objects.
2. Color broad, forgiving areas first
Start with larger spaces such as a pumpkin body, cape, or night sky. Use the broad side of the nib where appropriate and keep the stroke moving. On paper that accepts the ink, overlap adjacent strokes slightly while the section is still workable. Avoid repeatedly scrubbing a spot after it has begun to dry.
3. Blend neighboring colors in small sections
Work a pumpkin rib or clothing panel at a time rather than coloring an entire object in separate bands. Lay down the lighter color, add the midtone, then bring the lighter marker back across the join if the ink is still wet enough to blend. Finish with a smaller dark accent in the crease. Test this sequence first: papers and marker brands behave differently.
4. Leave highlights uncolored when possible
Preserving a few small areas of white paper often gives a glass bottle, moon, eye, or pumpkin a natural highlight. It also avoids saturating delicate areas. If you color everything first, a white gel pen can add accents later, but test it on the marker ink to make sure it sits cleanly.
5. Let the page dry before adding fine details
Give broad fills time to settle before adding tiny lines with a fineliner, pencil, or gel pen. Some inks can smear or react with other tools. Try the combination on scrap paper and use light pressure around delicate outlines.
Keep blends clean and outlines crisp
Streaking usually comes from uneven speed, a drying edge, or too many passes. Fill a closed area in a steady direction, then move to the next section instead of polishing the same patch repeatedly. If a large space is wider than the marker nib, plan a consistent path across it and accept a little texture rather than chasing a perfectly uniform surface on unsuitable paper.
Muddy color often comes from blending too many hues. Try neighboring colors first: yellow-orange into orange, then orange into red-orange. For purple shadows, test a violet over the orange only in a small area; complementary colors can turn brown quickly. A small swatch chart gives you a dependable reference for the particular markers and paper in front of you.
To protect fine black outlines, move the nib toward the edge rather than pushing ink across it. Use a fine tip for narrow sections and leave the broad nib for open shapes. If a tiny area feels stressful, switch to a colored pencil instead of forcing the marker into it. Our tutorials on layering Halloween pages with colored pencils and marker types and paper choices explain when mixed tools make sense.
Common alcohol marker mistakes to avoid
- Skipping the paper test: one page stock may handle ink differently from another, even when both look similar.
- Assuming the backing sheet prevents bleed-through: it protects the surface below, not necessarily the back of the artwork.
- Using a heavy hand: extra pressure does not improve blending and can damage the tip or oversaturate the sheet.
- Layering before the first pass settles: repeated wet passes can create dark patches or make paper buckle.
- Using too many colors in one small area: a restricted palette is easier to blend and keeps a vintage scene cohesive.
- Starting with the focal detail: test your technique on a background or duplicate before coloring the face, lettering, or favorite pumpkin.
When digital coloring is the easier option
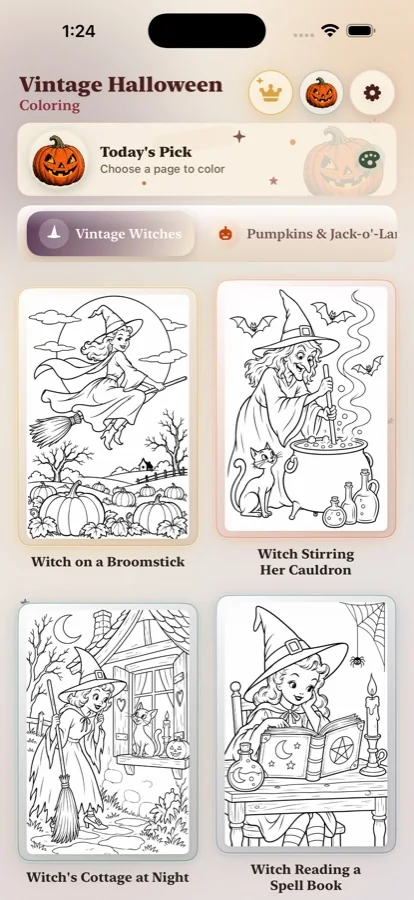
Alcohol markers are satisfying when you want physical materials, visible strokes, and a finished sheet to display. They also need a table, paper testing, and cleanup. If you want to try colors without ink bleed or keep a page portable, the Vintage Halloween Coloring iOS app offers a digital way to explore nostalgic Halloween artwork. The formats suit different moods: use markers when you want the tactile process, or color on iPhone when convenience matters.
Frequently asked questions
Can I use alcohol markers on printable Halloween coloring pages?
Yes, if the paper and printer can handle the ink. Test the exact paper and marker first, place a protective sheet underneath, and expect alcohol ink to pass through many ordinary printer papers.
How do I stop alcohol markers bleeding through a coloring page?
Use marker-friendly or heavier paper when practical, color one-sided pages, put a thick blotter sheet underneath, and avoid overworking one spot. A backing sheet protects the surface below but cannot prevent ink from passing through the page itself.
How many alcohol marker colors do I need for a Halloween page?
A small palette of about five to eight colors is enough for many pages: a light, mid, and dark orange, one or two violets or blue-grays, a green accent, and a warm highlight. Adjust the colors to the artwork and your supplies.
Why do alcohol marker blends look streaky or muddy?
Streaks can appear when a section dries before it is filled or when too many passes build unevenly. Muddy blends often come from combining many unrelated hues. Work in small sections, use neighboring colors, and test the sequence on scrap paper.
Take the feeling into the app.
Open a nostalgic collection of Halloween artwork, choose a palette, and color one page at a time on iPhone.